

Hey there! As a supplier of Glass Grinding Discs, I've seen firsthand the importance of getting that smooth glass surface after grinding. It's not just about making the glass look good; a smooth surface is crucial for functionality, safety, and overall quality. In this blog, I'll share some tips and tricks on how to ensure the smoothness of the glass surface after grinding with a disc.
1. Choose the Right Grinding Disc
The first step in achieving a smooth glass surface is to select the appropriate grinding disc. Different types of grinding discs are designed for various applications and glass types. For instance, if you're working with thick glass, you'll need a more aggressive grinding disc with a coarser grit. On the other hand, thin glass requires a finer grit disc to prevent cracking or chipping.
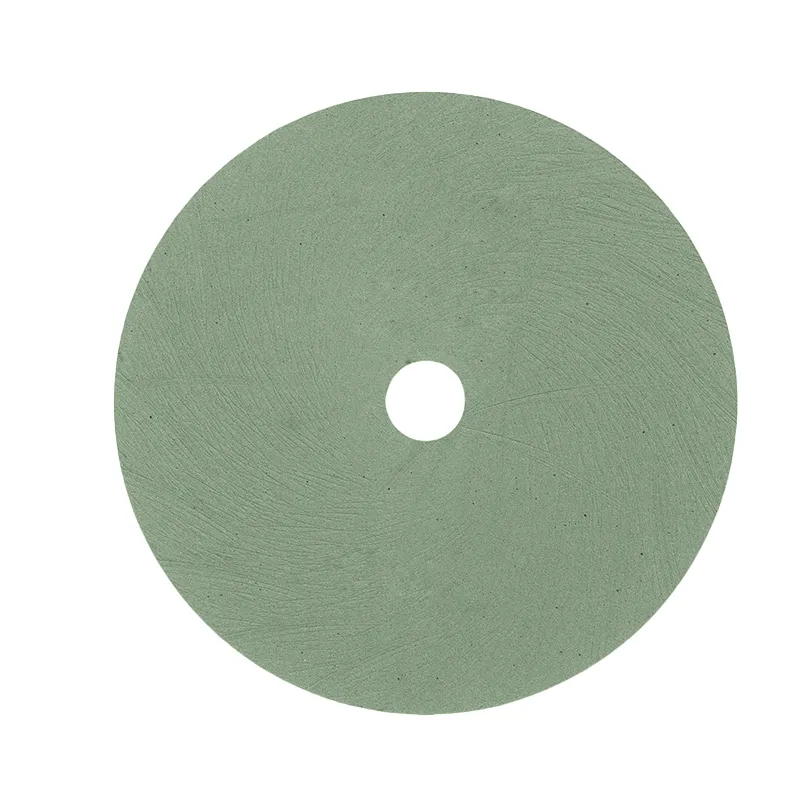
We offer a wide range of Glass Grinding Discs that are specifically engineered to provide optimal performance and smooth finishes. Our discs are made from high - quality materials that ensure long - lasting use and consistent results. When choosing a disc, consider the hardness of the glass, the thickness, and the desired finish.
2. Prepare the Glass Surface
Before you start grinding, it's essential to prepare the glass surface properly. Clean the glass thoroughly to remove any dirt, dust, or debris. Even a small particle can cause scratches during the grinding process, ruining the smoothness of the surface. You can use a mild glass cleaner and a soft cloth to wipe the glass clean.

Inspect the glass for any existing cracks or chips. If you find any, it's best to address them before grinding. Small cracks can be repaired using a glass repair kit, while larger cracks may require the glass to be replaced. Grinding over a cracked glass can cause the crack to spread, leading to a damaged piece of glass.
3. Set the Right Grinding Parameters
The speed and pressure you use during grinding play a significant role in achieving a smooth surface. Running the grinding disc at too high a speed can generate excessive heat, which can cause the glass to crack or warp. On the other hand, running it too slowly may not provide an efficient grind.
As a general rule, start with a lower speed and gradually increase it as you get a feel for the grinding process. Also, apply consistent pressure on the glass. Too much pressure can cause uneven grinding and scratches, while too little pressure may not remove enough material.
4. Use the Correct Grinding Technique
The way you move the grinding disc across the glass surface is crucial. Always use a smooth, continuous motion. Avoid jerky or sudden movements, as these can create uneven surfaces and scratches. Move the disc in a back - and - forth or circular motion, depending on the shape of the glass and the area you're grinding.
It's also a good idea to overlap your grinding passes. This ensures that the entire surface is evenly ground and helps to eliminate any visible lines or ridges. If you're grinding a large area, divide it into smaller sections and work on one section at a time.
5. Cool the Grinding Process
Heat is the enemy when it comes to grinding glass. Excessive heat can cause the glass to expand and contract, leading to cracks and an uneven surface. To prevent this, use a coolant during the grinding process. Water is a commonly used coolant for glass grinding.
You can use a spray bottle to apply water to the glass surface as you grind. This not only cools the glass but also helps to flush away the glass dust and debris, preventing them from causing scratches. Make sure to keep the glass surface wet at all times during the grinding process.
6. Follow Up with Polishing
After grinding, the glass surface may still have a slightly rough texture. To achieve a truly smooth and shiny finish, you'll need to polish the glass. We offer a variety of products for this purpose, such as the V - edge Polishing Wheel, Glass Wheel Polish, and Glass Final Polishing Wheel.
Start with a coarse polishing wheel or compound to remove any remaining scratches and level the surface. Then, gradually move to a finer polish to achieve a mirror - like finish. The polishing process is similar to grinding in terms of technique. Use a smooth, continuous motion and apply consistent pressure.
7. Quality Control
Once you've finished grinding and polishing the glass, it's important to inspect the surface for any imperfections. Check for scratches, unevenness, or any other defects. You can use a bright light to shine on the glass surface, which will make any flaws more visible.
If you find any issues, you may need to repeat the grinding or polishing process on the affected areas. Don't be afraid to take the time to get it right. A high - quality, smooth glass surface is worth the extra effort.
Conclusion
Ensuring the smoothness of the glass surface after grinding with a disc requires a combination of the right tools, techniques, and attention to detail. By following these tips, you can achieve a beautiful, smooth glass surface that meets the highest quality standards.
If you're in the market for high - quality Glass Grinding Discs or any of our other glass - related products, we'd love to hear from you. Whether you're a professional glassworker or a DIY enthusiast, we have the products and expertise to help you get the job done right. Reach out to us to start a conversation about your glass grinding and polishing needs.
References
- Glass Industry Handbook
- Manuals of Glass Grinding and Polishing Equipment